
- Pressure transmitter
- Ultrasonic sensor
Pressure transmitter

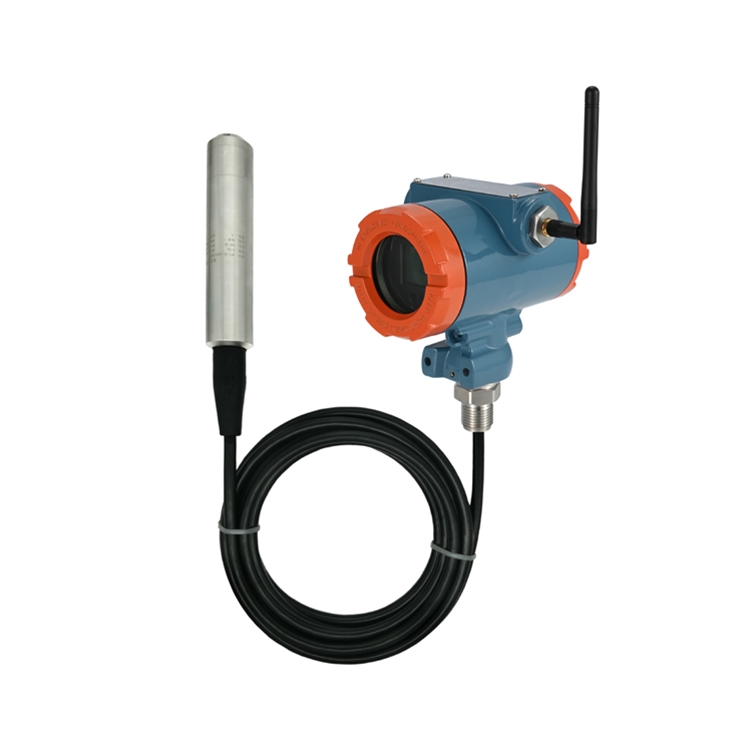
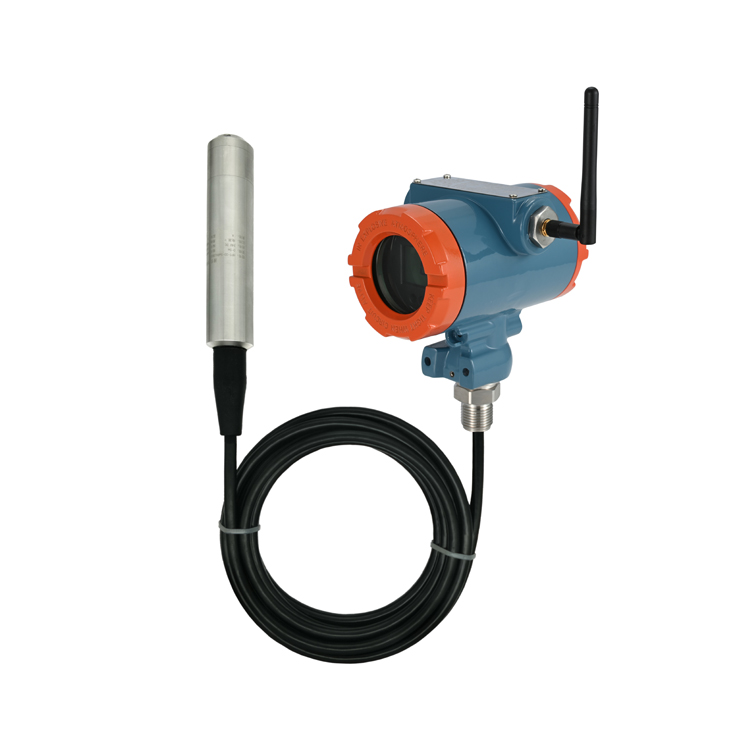
WIRELESS LORAWAN EXPLOSIVE PROOF LIQUID LEVEL TRANSMITTER
Wechat consulting

Details
The MIC series LoRaWAN wireless liquid level sensor uses high-precision and high-sensitivity pressure sensitive components and ultra-low
power microprocessors to process the hydraulic signal of the measured medium into a digital signal. It can display the liquid level value on site
and wirelessly transmit the measurement data through the standard LoRaWAN protocol. It has the advantages of easy installation and use, longer
transmission distance, stable and reliable performance. Widely used in wireless liquid level monitoring fields such as smart fire protection, smart water management,
and smart factories.

Test medium: Liquid compatible with the material
Display mode: LCD screen
Range: 0-300 meters
Accuracy level: ± 0.1% FS, ± 0.25% FS, ± 0.5% FS
Environmental temperature: -20~65 ℃
Environmental humidity: 10% to 95% RH (no condensation phenomenon)
Supply voltage: 3.6VDC
Battery capacity: 19000mAh * 2 pieces (specification: ER34615)
Overload capacity: 150% full range
Shell material: Aluminum alloy, 304
Protection level: IP65
Explosion proof rating: Ex d IIC T6 Gb
Sleep current:<30uA
Sending current:<140mA
Receiving current:<15mA
Data transmission rate: 300bps~5.4Kbps
Maximum transmission power: 25db
Receiver sensitivity: -150dBm (SF=12)
Communication protocol: Standard LoRawan protocol
Operating frequencies: CN470MHz~510MHz, EU863MHz~870MHz, US 902MHz~928MHz, AS923MHz, AU915~928MHz
1. Power on and network access:
A/ Open the front cover, long press the right button below the display screen, and the sensor will start to power on. It will display "ON" and "Init"
for a few seconds, and then display the main interface for a few seconds, starting to automatically search for the network.
B/ The display of "HI" in the lower left corner indicates successful network access, and the sensor enters standby mode (timed data upload).
2. Proactively trigger upload:
A/ Click the left button at the bottom of the display screen, and the screen will light up and show "SEND", indicating that data is being uploaded. After "SEND"
disappears, the main interface will be displayed, indicating that data upload is complete. Enter standby mode and log in to the platform to check if the data has
been successfully uploaded.
Note: Before powering on, devices should be correctly added to the platform. If devices are added to the platform after powering on, the sensor uploaded data can
only be seen on the platform after the scheduled upload time has passed, or the "active trigger upload" operation can be performed.
3. Check the power supply voltage and signal value:
A/ Right click on the bottom of the display screen, the screen will light up and show the current voltage value (normal range is between 3.1~3.7V).
B/ Right click again to display the current signal value (normal range is between 1-4, the smaller the value, the stronger the signal).
C/ Right click again to return to the main interface.
4. Shutdown: Press and hold the right button at the bottom of the display screen, and it will show "OFF" for a few seconds. If "OFF" disappears and the display screen
becomes dark, the shutdown is complete.